Easy Halloween Oreo Cake Bars Recipe
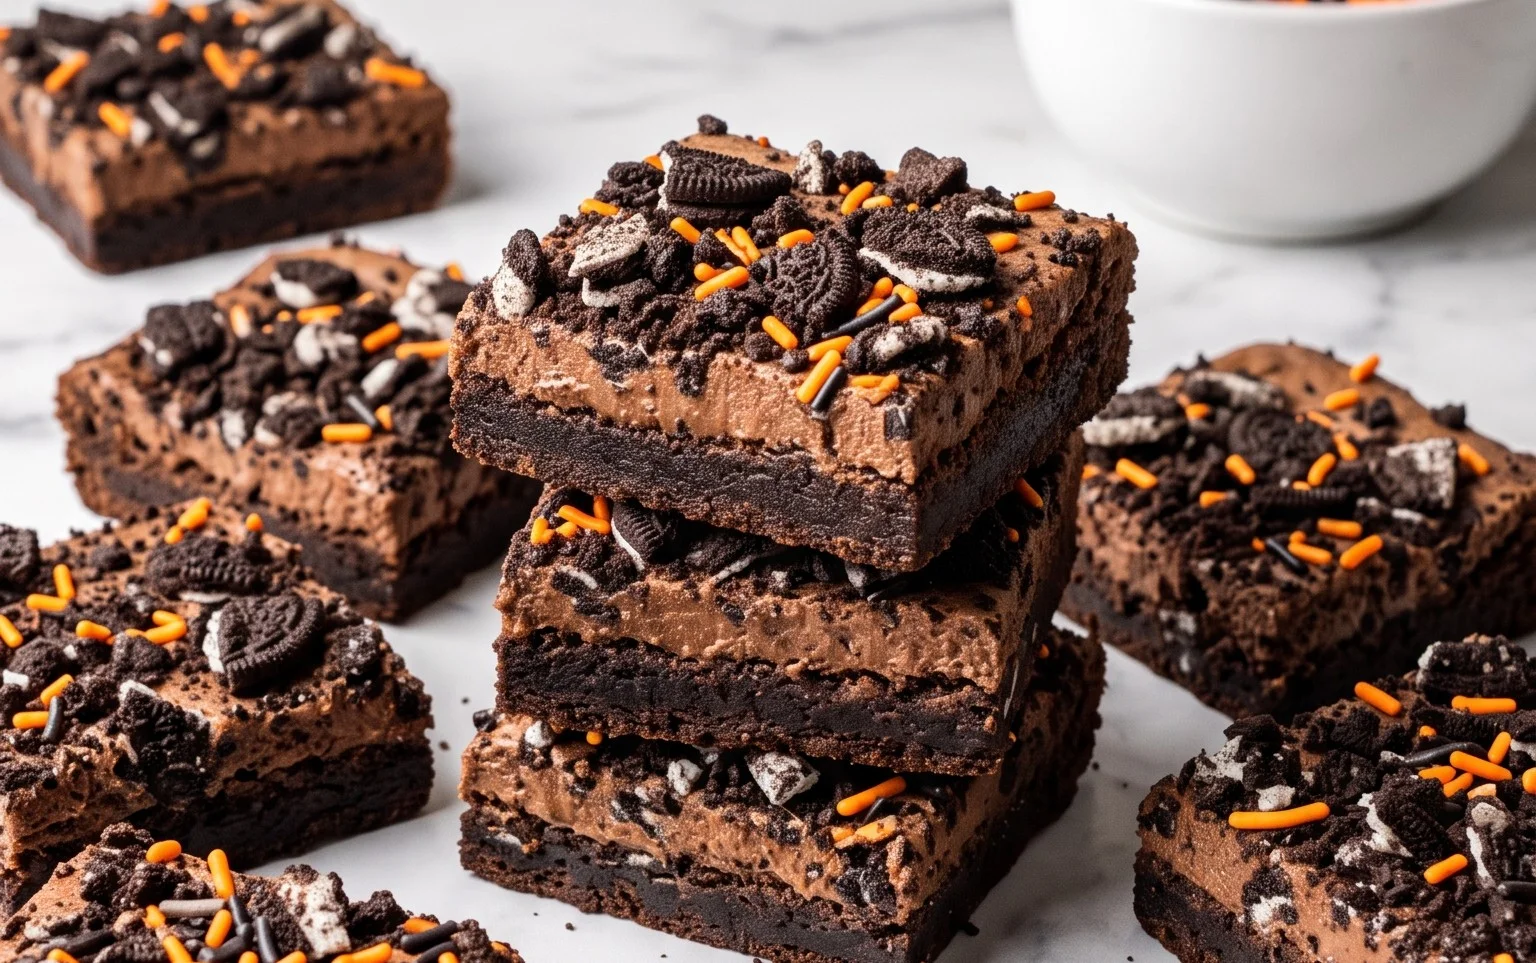
Halloween Oreo Cake Bars are a fantastic way to bring some spooky fun to your kitchen. They start with a simple cake mix base, but the magic really happens with the addition of chopped Halloween Oreos and a generous amount of colorful sprinkles. They’re not overly complicated, making them a great project for bakers of all skill levels, and they disappear fast at any Halloween gathering. The texture is wonderfully fudgy and dense from the Oreos, combined with a tender cakey crumb. You can see chunks of cookie and bright speckles of candy throughout each bar. They are perfect for parties because they are easy to make ahead and serve. This Halloween Oreo Cake Bars recipe is a real crowd-pleaser, combining the convenience of a cake mix with the irresistible crunch and creaminess of Oreos.
Ingredients:
- 1 (1 pound) box Halloween Oreos
- 1 (15.2 ounce) box French Vanilla Cake Mix
- ½ cup whole milk
- ½ cup Canola Oil
- 2 large eggs
- 2 cups Halloween Sprinkles, divided
- non-stick baking spray
Making the Cake Bars
1. Prepare the Pan and Oven:
Before you do anything else, preheat your oven to 350 degrees Fahrenheit (175 degrees Celsius). This is a standard baking temperature and works well for most cake mixes. While the oven heats up, take a 9×13 inch baking pan and give it a good coating of non-stick baking spray. You want to make sure every nook and cranny is covered, including the sides, so your bars don’t stick. If you’re particularly worried about sticking, you can also line the pan with parchment paper after spraying, leaving some overhang on the sides to easily lift the baked bars out. This makes cleanup a breeze.
2. Chop the Halloween Oreos:
The stars of this recipe are the Halloween Oreos. You’ll need to chop them up into small pieces. I like to get mine into r
Halloween Oreo Cake Bars
These Halloween Oreo Cake Bars are a fantastic way to bring some spooky fun to your kitchen. They start with a simple cake mix base, but the magic really happens with the addition of chopped Halloween Oreos and a generous amount of colorful sprinkles. They’re not overly complicated, making them a great project for bakers of all skill levels, and they disappear fast at any Halloween gathering. The texture is wonderfully fudgy and dense from the Oreos, combined with a tender cakey crumb.
Ingredients:
- 1 (1 pound) box Halloween Oreos
- 1 (15.2 ounce) box French Vanilla Cake Mix
- ½ cup whole milk
- ½ cup Canola Oil
- 2 large eggs
- 2 cups Halloween Sprinkles, divided
- non-stick baking spray
Making the Cake Bars
1. Prepare the Pan and Oven:
Before you do anything else, preheat your oven to 350 degrees Fahrenheit (175 degrees Celsius). This is a standard baking temperature and works well for most cake mixes. While the oven heats up, take a 9×13 inch baking pan and give it a good coating of non-stick baking spray. You want to make sure every nook and cranny is covered, including the sides, so your bars don’t stick. If you’re particularly worried about sticking, you can also line the pan with parchment paper after spraying, leaving some overhang on the sides to easily lift the baked bars out. This makes cleanup a breeze.
2. Chop the Halloween Oreos:
The stars of this recipe are the Halloween Oreos. You’ll need to chop them up into small pieces. I like to get mine into roughly ½ inch chunks, but it doesn’t have to be exact. Some smaller bits and some slightly larger pieces are totally fine and will give you nice variation in texture. You can do this by placing the Oreos in a sturdy zip-top bag and gently bashing them with a rolling pin, or by using a food processor for a quicker, more uniform chop. Be careful not to over-process them into a fine powder; you want discernible cookie pieces. Set aside about ½ cup of the chopped Oreos for decorating later.
3. Mix the Cake Batter:
In a large mixing bowl, combine the French Vanilla cake mix, whole milk, canola oil, and the 2 large eggs. Whisk everything together until it’s just combined and smooth. Don’t overmix the batter; a few small lumps are okay. Overmixing can lead to a tougher cake. Once the batter is mixed, gently fold in about 1 ½ cups of the chopped Halloween Oreos and 1 cup of the Halloween sprinkles. Make sure they are evenly distributed throughout the batter. The sprinkles add a fun pop of color and texture right into the cake itself, and the Oreo pieces will create those delicious pockets of chocolatey goodness.
4. Bake the Bars:
Pour the batter into your prepared 9×13 inch baking pan and spread it out evenly. You want a nice, flat surface so the bars bake evenly. Now, place the pan in your preheated oven. Bake for 25 to 35 minutes. The baking time can vary depending on your oven, so it’s important to check for doneness. You can tell they are ready when a toothpick inserted into the center comes out clean, or with just a few moist crumbs attached (not wet batter). Avoid overbaking, as this will result in dry bars. If the top starts to brown too quickly, you can loosely tent it with aluminum foil for the last 10-15 minutes of baking.
5. Decorate and Cool:
Once the cake bars are baked, remove them from the oven and let them cool in the pan for about 15 to 20 minutes. This allows them to set up properly before you try to cut them. While they are still warm, but not hot, sprinkle the reserved chopped Halloween Oreos and the remaining 1 cup of Halloween sprinkles evenly over the top. The warmth of the bars will help them adhere slightly. After this, let the bars cool completely in the pan on a wire rack. Once fully cooled, you can cut them into squares or rectangles. For neat cuts, use a sharp knife and wipe it clean between cuts if necessary. These bars are best stored in an airtight container at room temperature for up to 3 days. They also freeze well, so you can make a big batch ahead of time.
Conclusion:
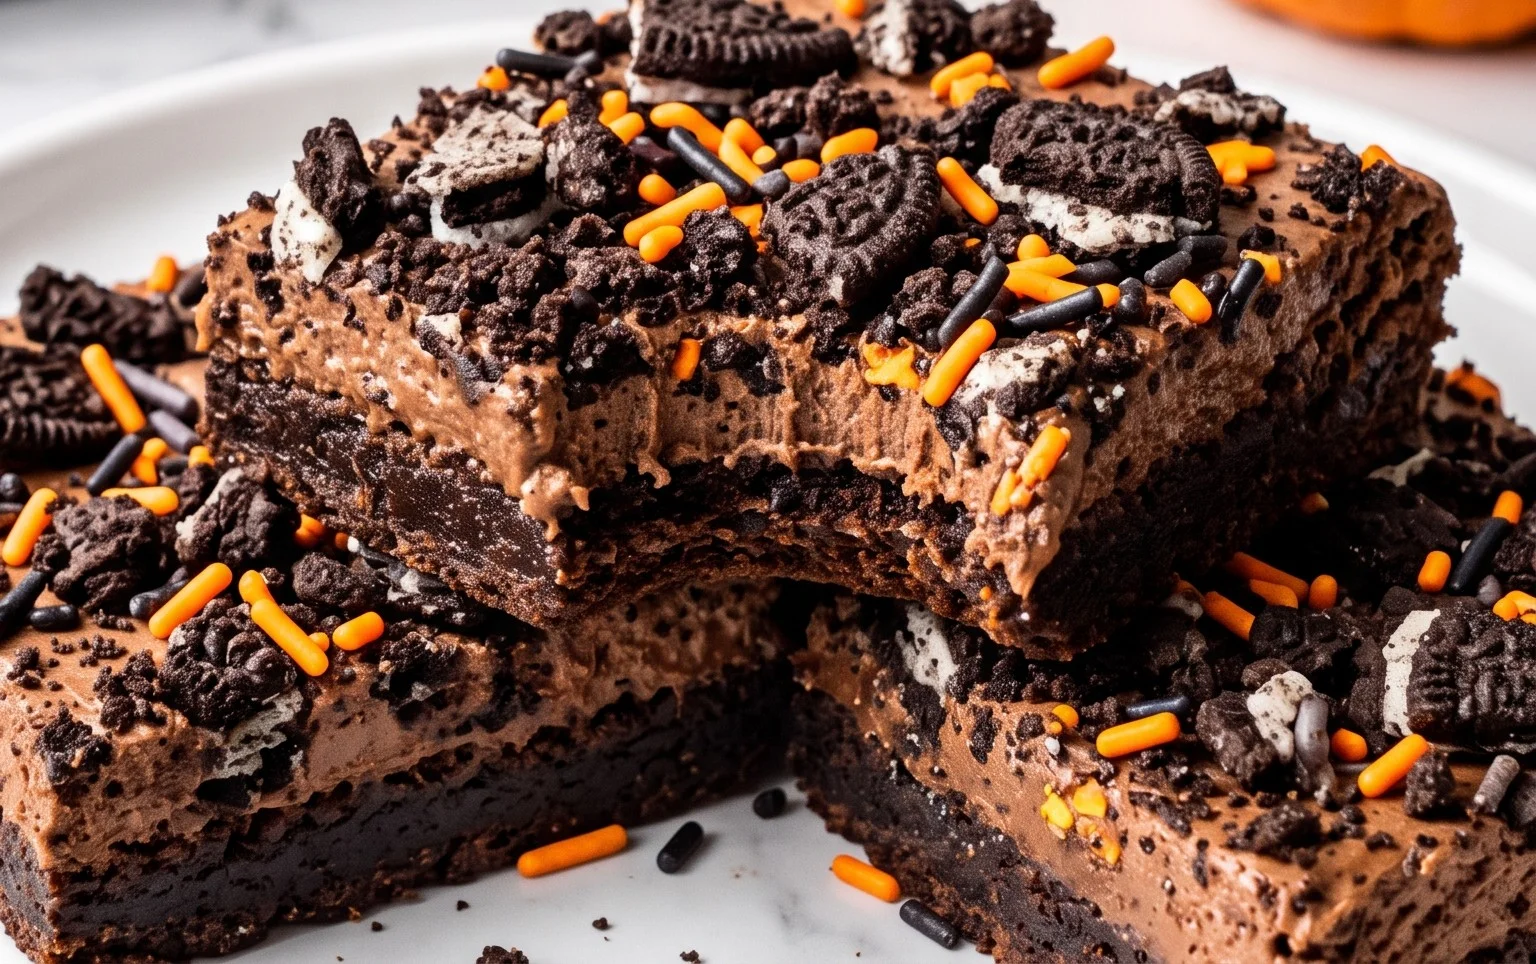
These Halloween Oreo Cake Bars are a hit every year. They’re easy enough that even beginners can make them, and they always get devoured quickly. The combination of a moist cake base with bits of crunchy, creamy Oreos and festive sprinkles is just unbeatable. They’re perfect for school parties, neighborhood get-togethers, or just a fun afternoon baking project. You can easily adapt them for other holidays too. Just swap out the Halloween Oreos and sprinkles for ones that match your theme. Try using red velvet Oreos for Valentine’s Day or mint Oreos for Christmas. The possibilities are endless!
Frequently Asked Questions:
Can I use a different flavor of cake mix?
Yes, absolutely. While French vanilla gives a nice neutral base, you can use yellow cake mix or even white cake mix. Avoid chocolate cake mixes as they might overpower the Oreo flavor.
How should I store these cake bars?
Store the cooled bars in an airtight container at room temperature for up to 3 days. If your kitchen is very warm, you might want to refrigerate them, but bring them back to room temperature before serving for the best texture.
Can I make the batter without Oreos?
You can, but you’ll lose the signature flavor and texture. If you can’t find Halloween Oreos, regular Oreos will work, or you could try other sandwich cookies.
Halloween Oreo Cake Bars
Decadent and festive cake bars packed with Halloween Oreos and sprinkles, perfect for any spooky celebration.
Ingredients
-
1 (1 pound) box Halloween Oreos
-
1 (15.2 ounce) box French Vanilla Cake Mix
-
1/2 cup whole milk
-
1/2 cup Canola Oil
-
2 large eggs
-
2 cups Halloween Sprinkles, divided
-
non-stick baking spray
Instructions
-
Step 1
Preheat oven to 350°F (175°C). Grease and flour a 9×13 inch baking pan, or spray with non-stick baking spray. -
Step 2
In a large bowl, combine the French Vanilla Cake Mix, whole milk, canola oil, and large eggs. Mix until just combined, do not overmix. -
Step 3
Gently fold in 1 cup of the Halloween Oreos (roughly chopped) and 1 cup of the Halloween Sprinkles into the cake batter. -
Step 4
Pour the batter evenly into the prepared baking pan. -
Step 5
Sprinkle the remaining 1 cup of Halloween Sprinkles evenly over the top of the batter. -
Step 6
Bake for 25-30 minutes, or until a toothpick inserted into the center comes out clean. -
Step 7
Let the bars cool completely in the pan before cutting into squares.
Important Information
Nutrition Facts (Per Serving)
It is important to consider this information as approximate and not to use it as definitive health advice.
Allergy Information
Please check ingredients for potential allergens and consult a health professional if in doubt.